What's New in Lumion 2024: Exciting New Real-Time Features

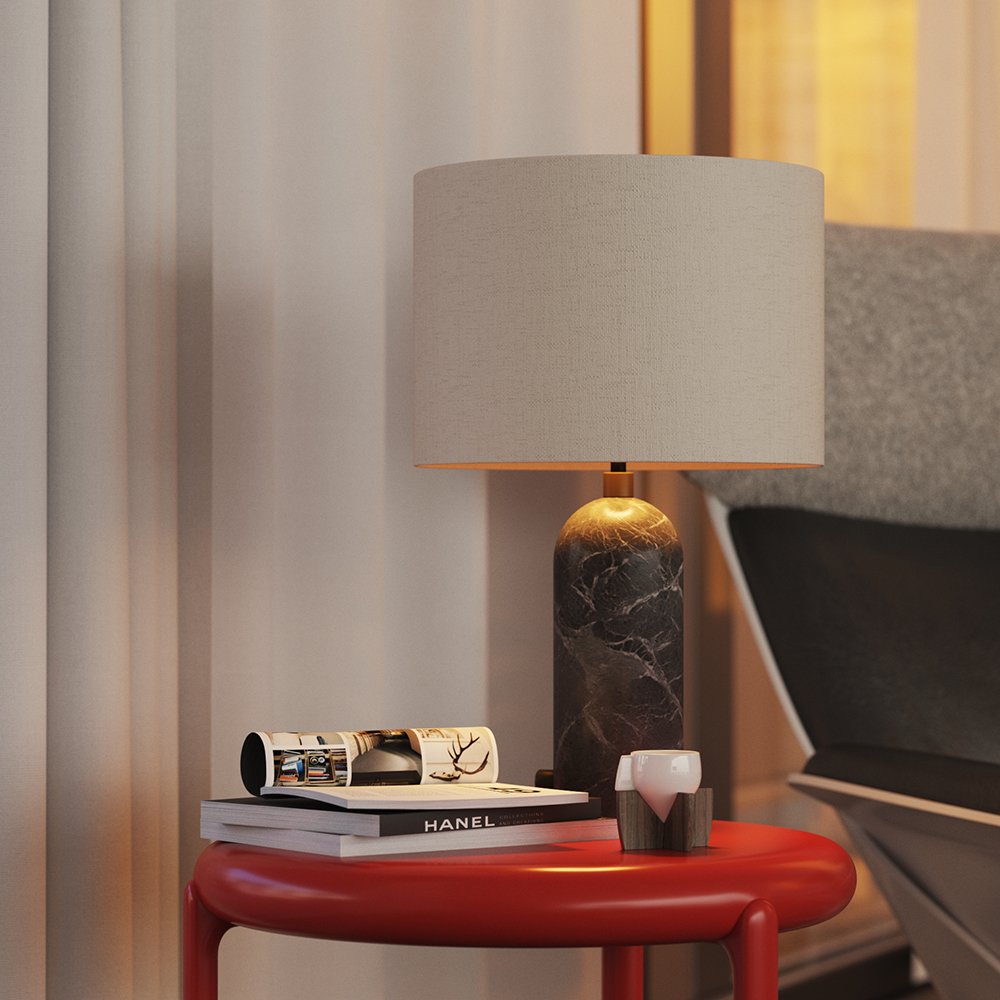
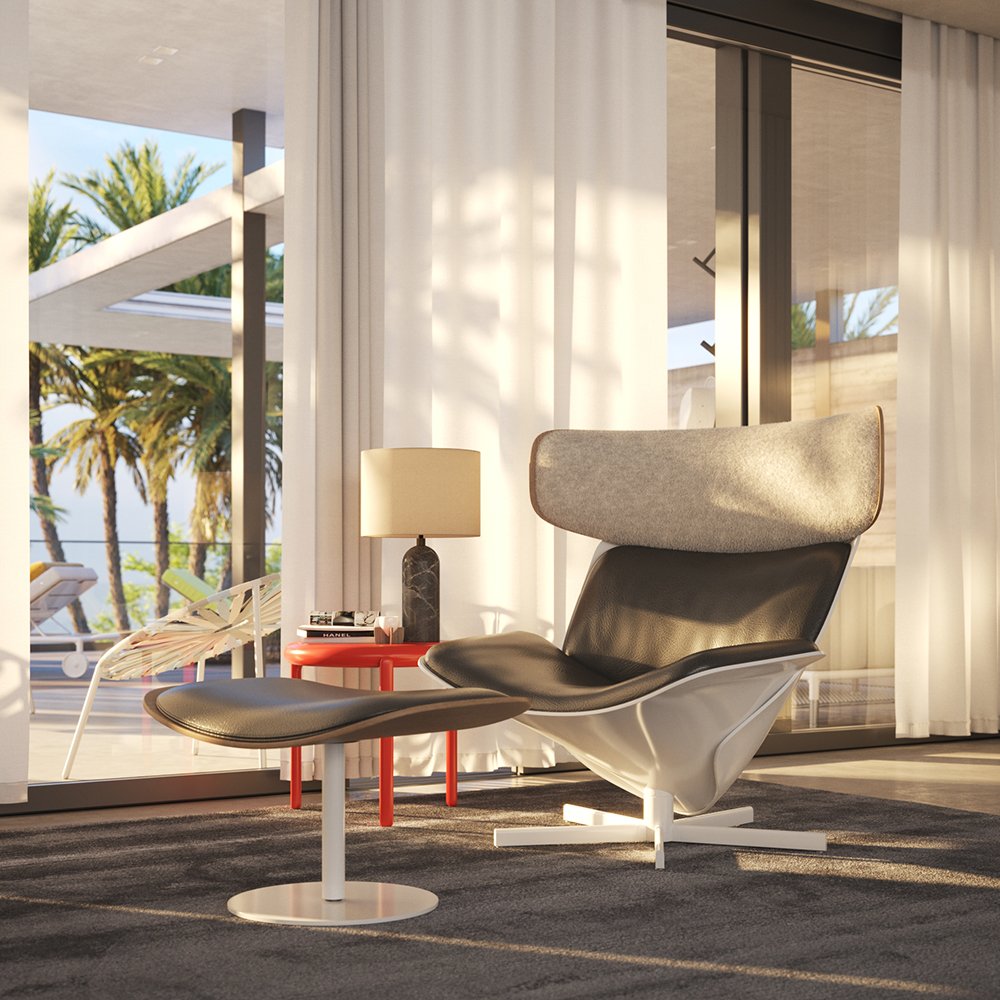
Lumion stands as a beacon of innovation, empowering architects, designers, and creators to bring their visions to life with realism and efficiency. I got a chance to test out the new features and explore how powerful game changing this render engine is in architectural Visualization.

Watch the full Video Below;

Lumion 2024 include:

Real-time Ray Traced Preview

The Preview is now instantly denoised allowing for a more accurate visual representation when setting the angle of your renders or adjusting the Effect Stack.

Raytraced Trees

The Lumion Nature Library has been fully converted to the bindless pipeline, allowing for better shading on the Objects and accurate Reflections.

Ray Traced Glass and Shadows

The Glass Material is now more physically accurate in Ray Tracing and allows for better control when aiming to achieve a look closer to reality. This is especially visible in more intricate geometry as the shape will correctly reflect and refract light.

Ray Traced Subsurface Scattering

Lumion 2024 also brings ray traced Subsurface Scattering that accurately depicts the natural diffusion of light through surfaces and volumes.
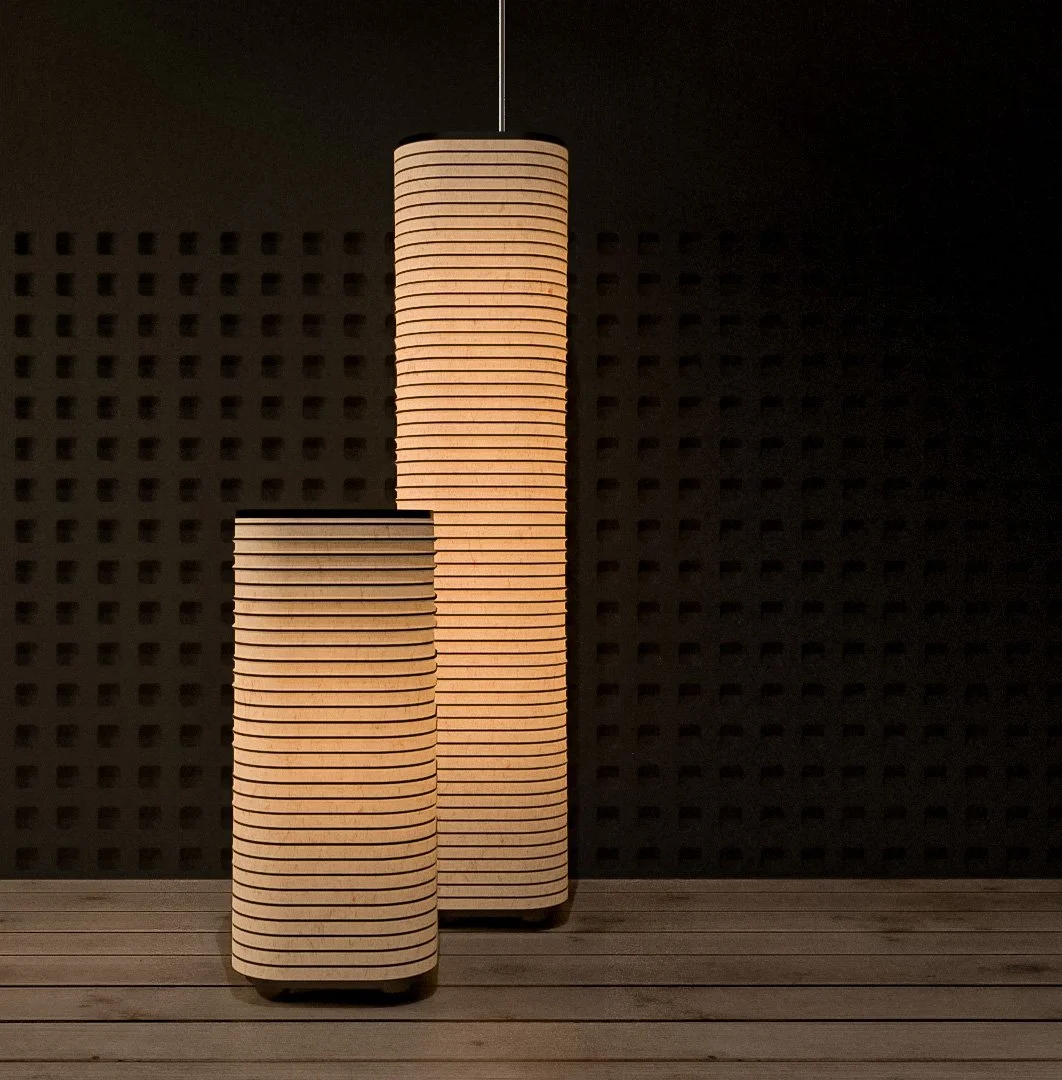
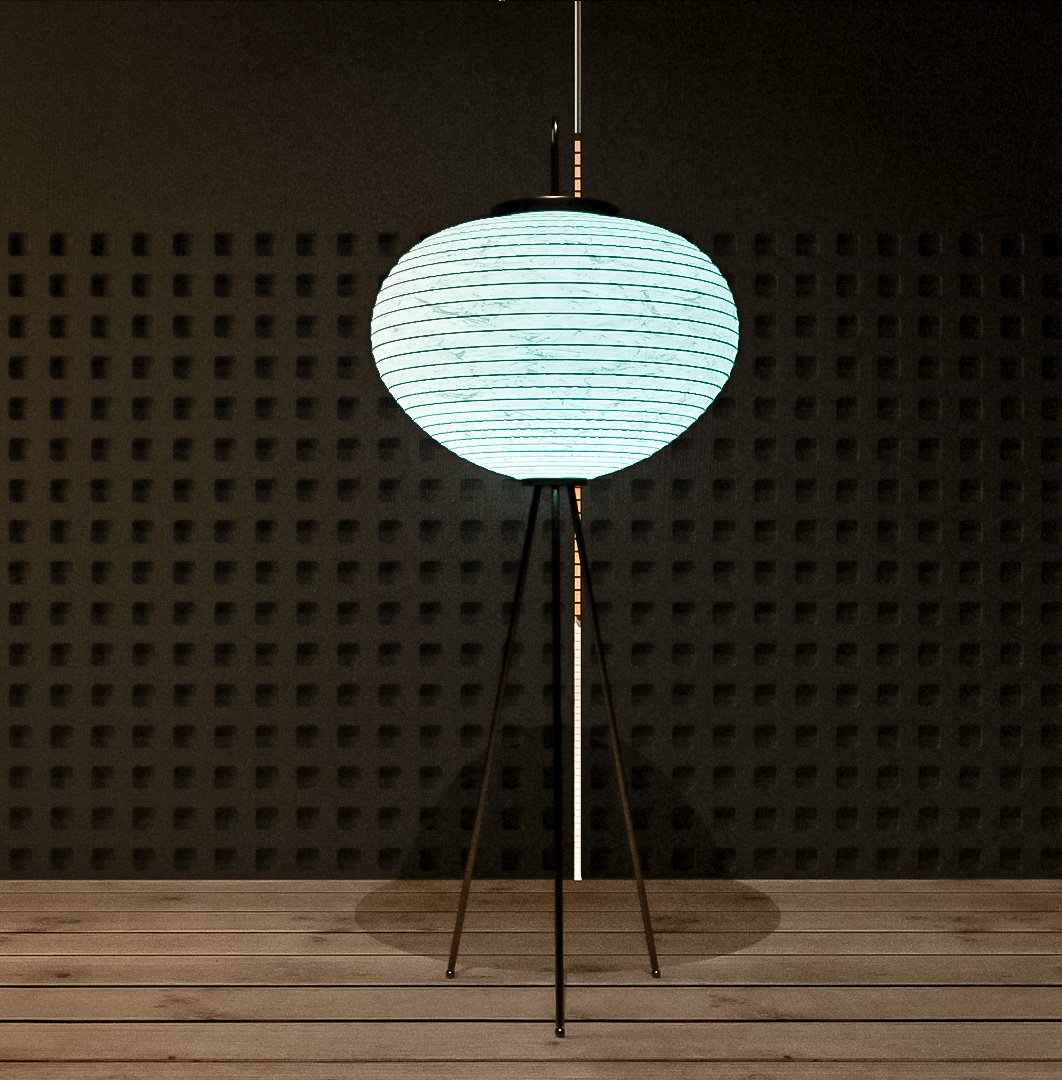
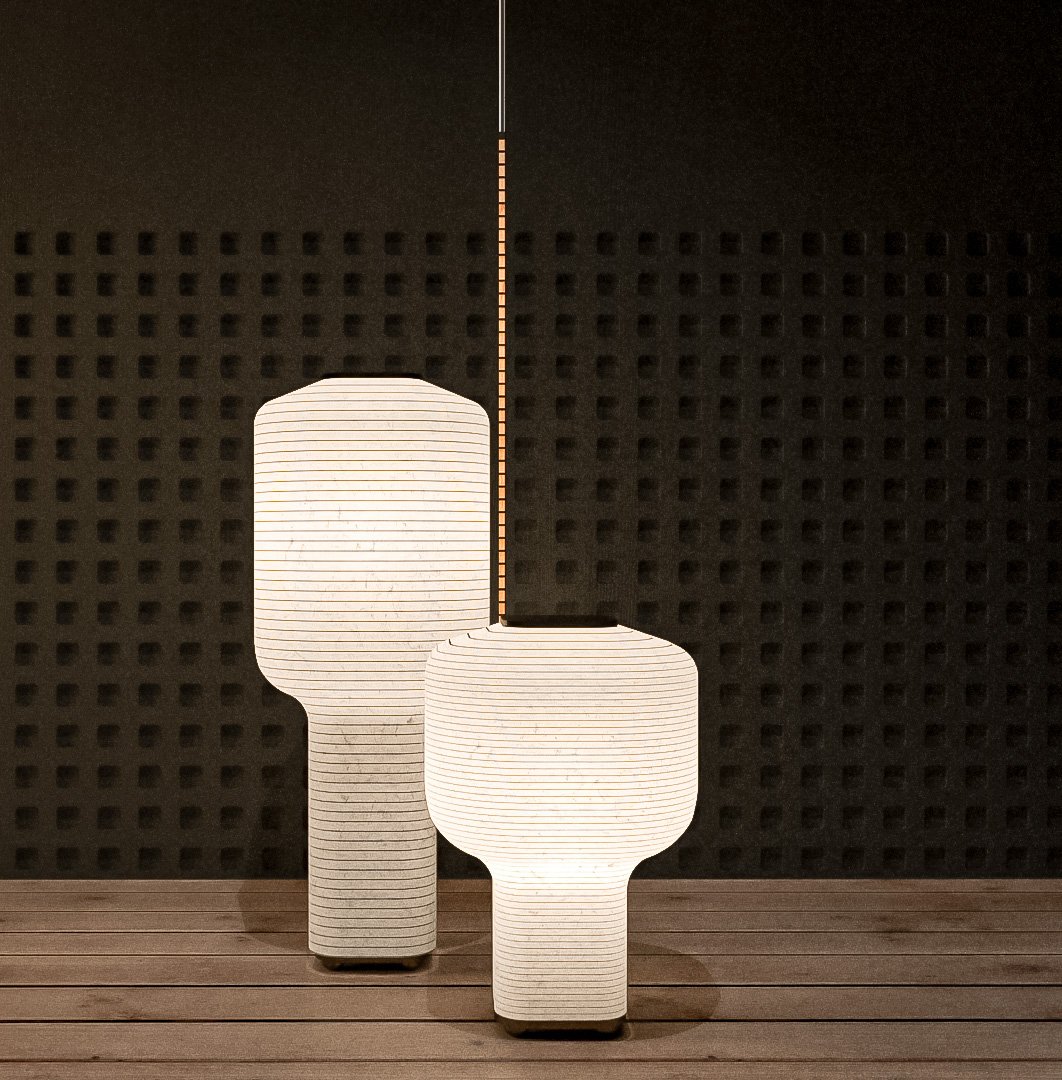
Parallax interiors

A new Content Library Subcategory has been added with 25 Parallax Interiors usable in their day and night variants. With options covering offices, residential spaces, and retail areas, these interiors provide a quick and effective way to elevate the visual impact of architectural renderings.

Landscape tiling

Most textures in the Landscape Mode are now tiled by default using hexagonal mapping to reduce repetitiveness.

Camera Controls

The option to control the Lumion workspace using consistent controls with the 3D modelling software has been added for Sketchup, Revit, and Rhino.

For Full list of all the features Check the full Lumion 2024 Release Notes


Improve Interior Lighting with V-ray Two Sided Material using V-ray 5 for Sketchup

In this tutorial, I’ll be showing you how to use the V-ray two-sided Material to improve your interior lighting and add realistic details in V-ray 5 for Sketchup. This is a very special V-ray material and if used right, you can greatly improve the realism in your renders.

What is V-ray Two-Sided Material

The Two Sided material is a utility material provided with the V-Ray renderer. The material allows seeing the light on the backside of the objects. Use this material to simulate thin translucent surfaces like paper, cloth curtains, tree leaves, etc.

Two very important things to remember about the Two Sided Material.

This material will give best results when assigned to single-sided objects like planes, extruded splines, etc. Otherwise it can lead to extremely longer render times. Also, The material can be made visible only from one side by having its Front material slot empty and the Back material slot filled in.

Click Here for more information on V-ray Two Sided Material.

Now that we know what a V-ray Two Sided Material is, let me show you where and how to use it to improve your interior lighting.

Tip Number One: Use two sided Material on your curtain.

To achieve this realistic result on your curtain, it needs to be close to a light source. In real life, curtains are hit sunlight as it travels in from the windows. So a curtain Object with Two Sided Material creates the perfect realistic result you need to improve realism in your render.

Lets take a look at the example below. Pay attention to the curtain with two sided material. You can see the light travelling through the material and how it creates a more realistic effect.

How to Create a V-ray Two Sided Material.

On the V-ray Asset window, go to create asset > Material > Select the Two Sided Material.

Two Sided Material as a very simple composition. It will ask you for a front and back material. Keep in mind that he front and back materials correspond to sketchUp’s front and back faces.

Sketchup Front and Back faces.

Front Material – Sets the material to be used for front faces as defined by the object normals.

Back Material – Sets the material to be used for backside faces as defined by the object normals.

Translucency – Determines which side (front or back) relative to the camera is more visible in the rendering process. By default this color is black (0.0), which means that only the front side is visible. When set closer to white (1.0), more of the Back material is seen. When set closer to black (0.0), more of the Front material is seen.

Mult. By Front Diffuse – When enabled, the Translucency is multiplied by the Front material.

Force Single Sided – When enabled, the sub-materials renders as one-sided materials. Disabling is not recommended.

V-ray two sided Material Composition

This is the material set up.

  1. Add a Fabric material from the V-ray library for both front and back materials.

  2. Keep Translucency at 50% so you can see a blended mixture of both materials

  3. Mult. by front Diffuse mean the diffuse layer o fthe front materials will have a little more impact on your final results ( this is optional, keep unchecked)

Once the Two Sided material is set, apply it to your curtain model (or object). You can do this quickly by replacing the current material on the object with the two sided material.

Apply Two-Sided material to Curtain object. For faster application use “Replace in Scene” to apply Two-Sided Material.

Tip Number Two: Use translucency attribute on an existing material.

Adding translucency attribute to an existing material adds translucency parameters to the material. This can be very useful on light fixtures to create a more realistic feel. Take this pendant light for example, I added a sphere light inside the component. I added translucency attribute so the light can travel through the material.

Add lights inside our component. For my example I added a sphere light inside. For the settings, I set the intensity to 100 and add a warm tone to the light temperature, so around 3000 kelvin.

This is how you add the translucency attribute to the material.

We can treat this material as a glass or plastic Material on these spheres, To add translucency go to the attribute settings and select translucency from the options. You don't have to add a back material here, if you leave it empty the effect still works as well

So this is the result, Very similar to what you get from a 2 sided Material.

Different Types of Translucency

From here you can get a little creative with the settings. Lets control the visibility of the translucency to create better effects. For example, we can add the gradient procedural texture to create a vertical transition for the translucency effect.

Gradient Translucency

Add gradient procedural to the translucency texture to control its visibility. As you know black values mean invisible and white values mean visible.

Falloff Translucency

Add falloff procedural to the translucency texture . You can see how the light is brighter in the center and dims towards the edge of the sphere.


Binding Options

in able to get this right, let's also set the binding texture helper and use the spherical projection to properly fix the UV coordinates. The binding option is located at the bottom of most material settings.

Tip Number Three: Adding Grid to Lamps

This next tip is to help you add realism to your lamps. Take the lamp below for example, it could be more realistic if you add the grid that is seen through the light. You can always model this in SketchUp as part of your model or you can use this material set up I’m about to show you.

Floor Lamp Grid Example

To start off this lamp is set and ready to go, there is a Mesh light inside the model, and this paper material with translucency attribute. 

So here is how you can add the grid to the lamp in the material composition.

In your diffuse setting, let's wrap our texture in the Mix operator. This function lets us blend two textures together. On the top we have the paper texture, and on the bottom, we are going to add the grid texture.

As for the settings on the grid, its a matter of some trials depends on the design of the lamp. So I'm going to adjust the settings so i can only see the horizontal lines.

The last step is to set the blending mode to multiply. 

This is the result, you can see the light through the material, but since its mixed with a dark grid, it gives the intention that there is a framing inside the lamp. 

Here ere are other examples, where this material setup can take your lighting skills to the next level, especially with paper lamps.

As always, You can watch the video tutorial below and subscribe to the channel for more contents like this.

If you don’t own a v-ray for SketchUp license you can use our link as a way to support the channel.

Thank You for reading all the way to the end. See you guys on the next one.

V-ray 5 for Sketchup | 4 Tips & Tricks for Realistic Interior Renderings

Hey Everyone, In today's tutorials I'm sharing 4 tips, tricks, and creative tools to help you with realistic interior renderings in v-ray 5 for SketchUp. Some of these will help you to get more realistic interior renderings and others will help you with composition and improve your rendering workflow.

So I hope you learn something new in this video.

Get V-ray 5 For Sketchup: https://bit.ly/3rdd72S

SUBSCRIBE: https://bit.ly/31yppYe

Enscape for Sketchup 3.1 | REVIEW, Free Materials, Improved Real time Render

In this Enscape for Sketchup video I'm going over whats new in Enscape 3.1.

Enscape real time performance has increased greatly in version 3.1. Also there are New features like Free Materials, Improved Material editor, Improve Realtime Render performance and More.

You will see how the new Material editor User Interface as improved, results of new Ray-Traced Sun Shadows, Nvidia DSLL support and much more.

V-ray 5 For Sketchup | Realistic Interior Lighting & Rendering Tips

In this video, I'll share Vray Interior Lighting settings for SketchUp and Tips for realistic Interior Rendering. In this workflow, I'll show you how to use vray adaptive dome light, set vray HDRI, use Vray advance camera settings, set Vray lights, and adjust exposure in vray frame buffer.